
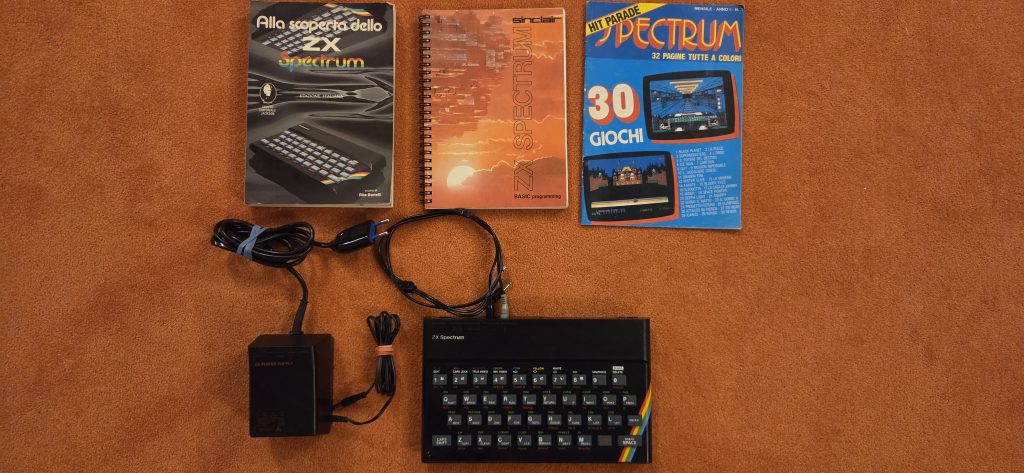
Time for a new Sinclair, this time is about the standard 48K Spectrum. Rubber keys, pretty much historical material.
As per the other post about the Sinclair ZX 81 Restoration, I went through cleaning it up first. Though, this work was simpler, but coming along with some minor challenges.
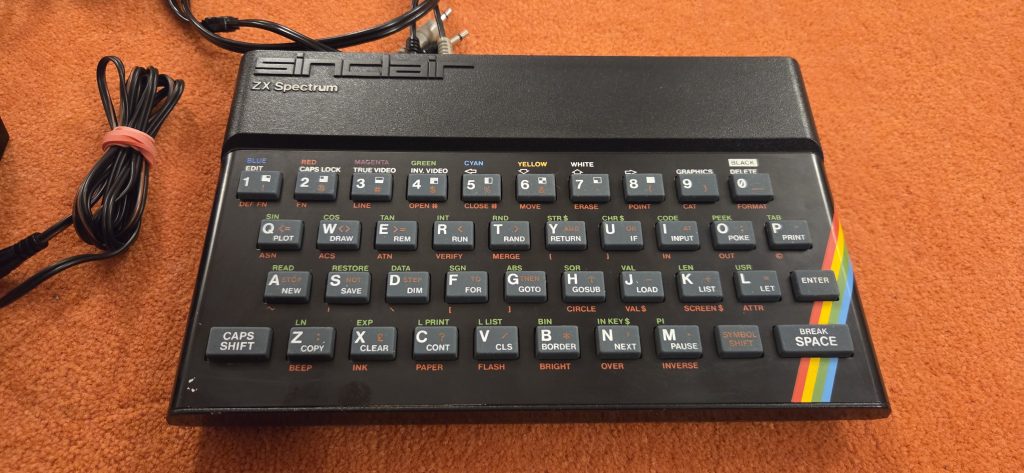
Sinclair Spectrum 48K to the rescue
The computer was pretty much working already when I got it. Which was pretty amazing considering I was sure it has been passing through 2 relocations, and put in a box since early 90s. Also the keyboard was working just fine at first try. So, instead of going through a massive mod, I simply choose for the safest bet, which were:
- Capacitor change
- Buck converter for cool (and not HOT) 5V
- Connector cleanup
- Composite mod
PSU for starter
I’ve started with the usual buck converter [0], and set it to the proper 5V, then insulate it with heat shrink. I’ve also spotted the DC jack to be in somewhat bad conditions: the inside turned to black (oxide), and I choose to replace it as well.
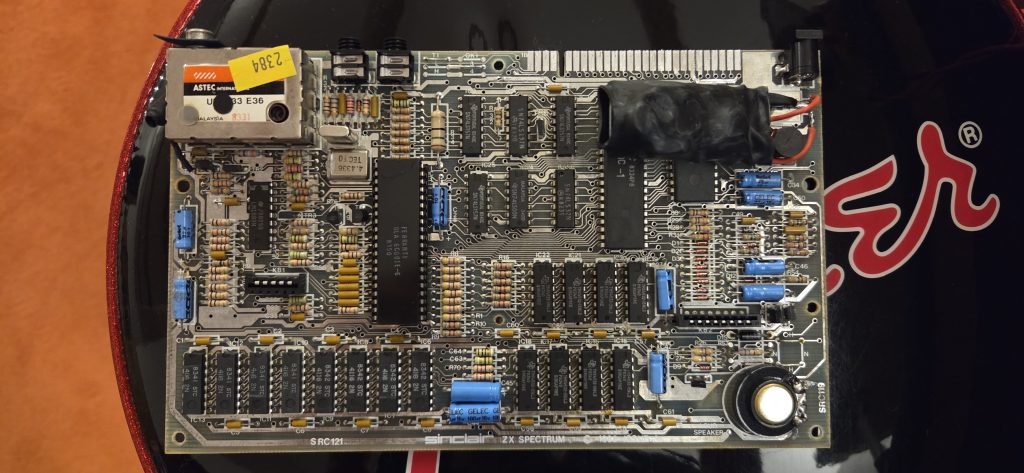
Bring it on with caps
I’ve found an eBay dealer [1] who was selling out axial capacitors with just the right sizing to fit this. So, I just bought them, and simply swapped. I personally think electrolytic capacitors are not that LEAKITY-LEAK spooky thing most of the web is screaming at. It happens, it happened many times during the early 2000s [2] , but tbh the only caps which were actually failing I’ve seen, have been some SMDs suckers from Sega Mega CD model 1, and way old caps from the late 60s (you know Geloso [3] – right?). Still, better safe than sorry. I’ve also changed the PSU cap, by paralleling 2 x 2200uF – the PCB was originally built to accomodate 2 caps, but they’ve put a single 4700uF instead. I didn’t have any spare at hand, so I accomodated this way.

What happened in between?
I also tinned the external connector given the chance. Tin, with some soldier, then remove the excess. This is the safest method I’ve found to get rid of oxides, and also give better connection to any additional peripherals.
Although…I cracked the membrane plastic in the process of umounting it for the second time. As per the ZX81, I couldn’t find a resilient way to fix it, and I had to buy a new one [4]. Bummer (I hate it when I break things in the process).
And off we go for the composite mod
This is actually very simple, although I don’t have any picture of the process. You should be opening the RF unit, unsolder the two wires, and put a transistor in between. See [5] for the actual mod. I’ve also isolated the two leads internal to the RF units, for any future use. Who knows.
Off with the RAM test
Of course I needed to check whether it was actually working just fine. With the following code I could test the ROM + RAM:
PRINT PEEK 23732+PEEK 23733*256L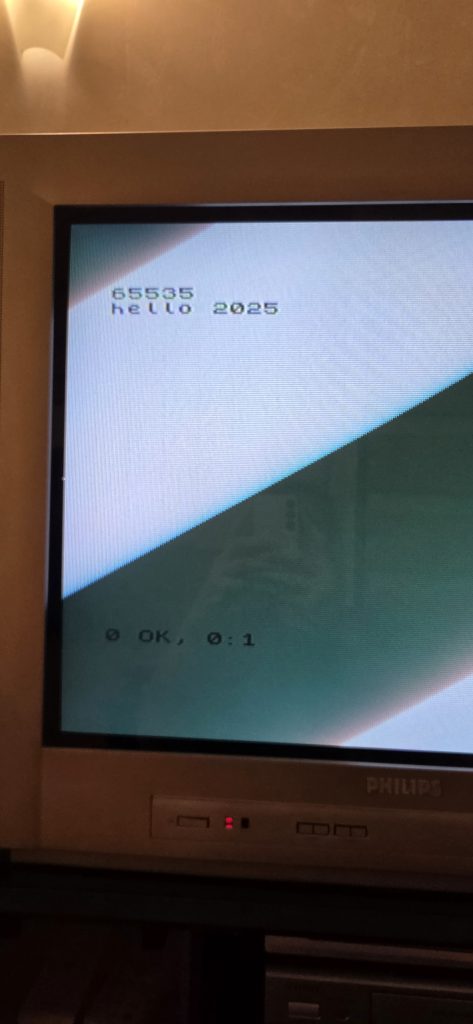
Ready for selling
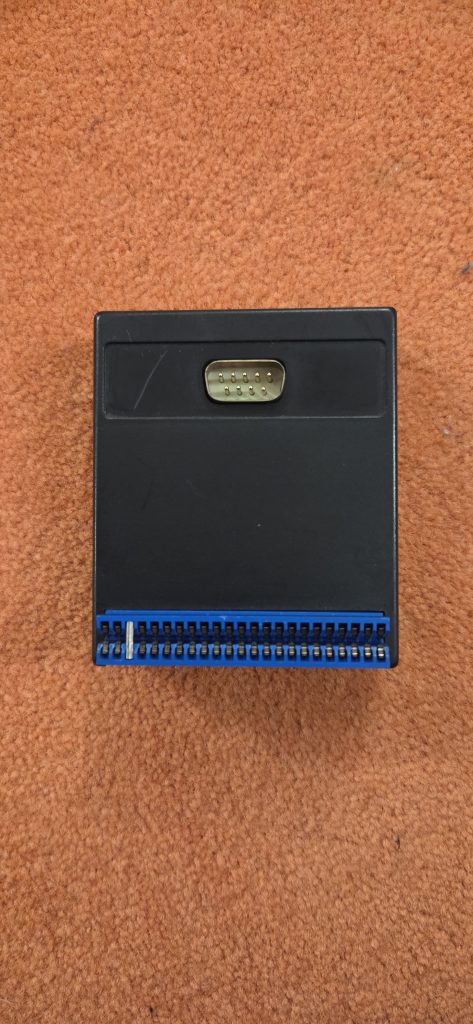
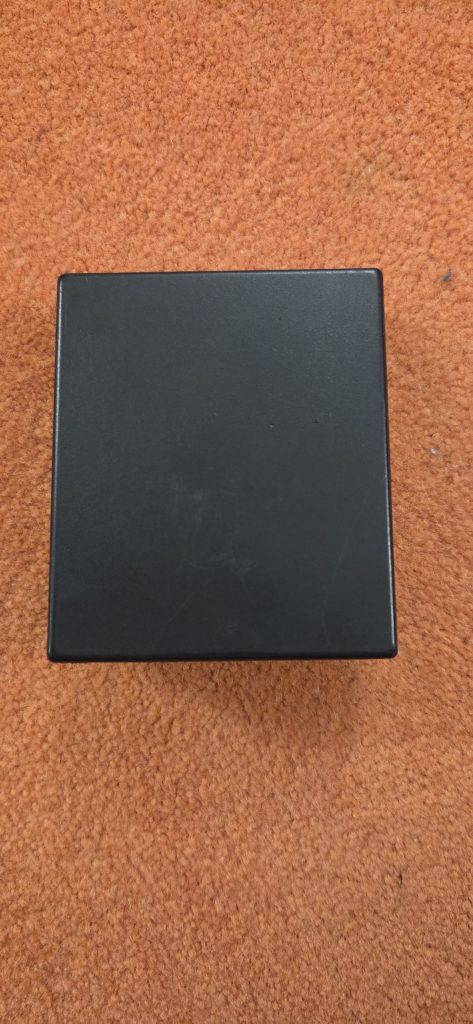
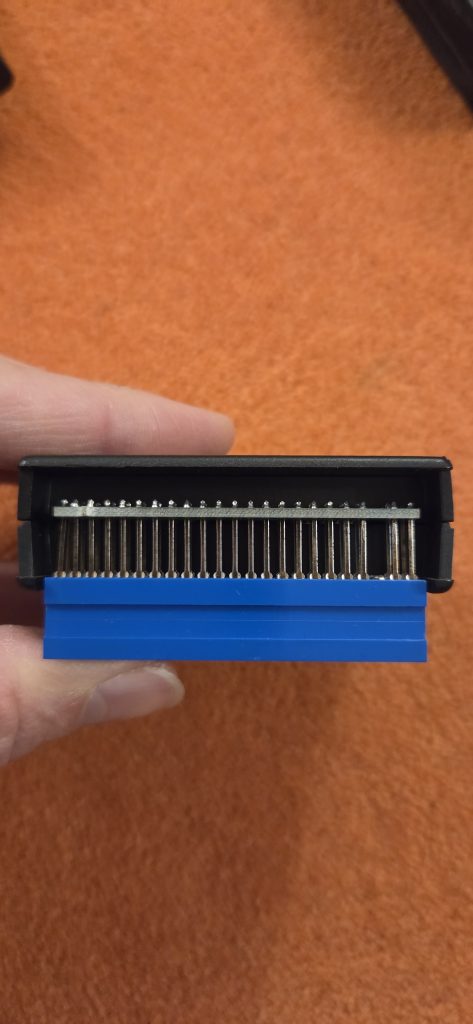
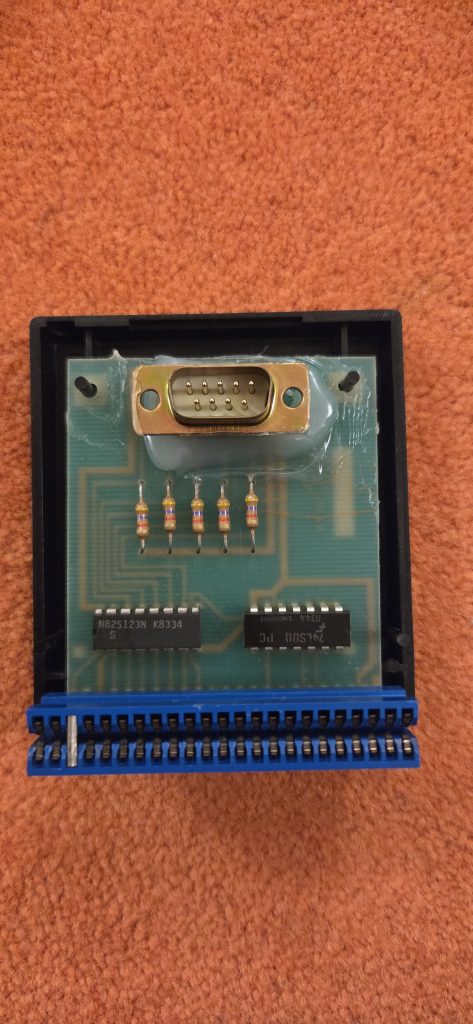
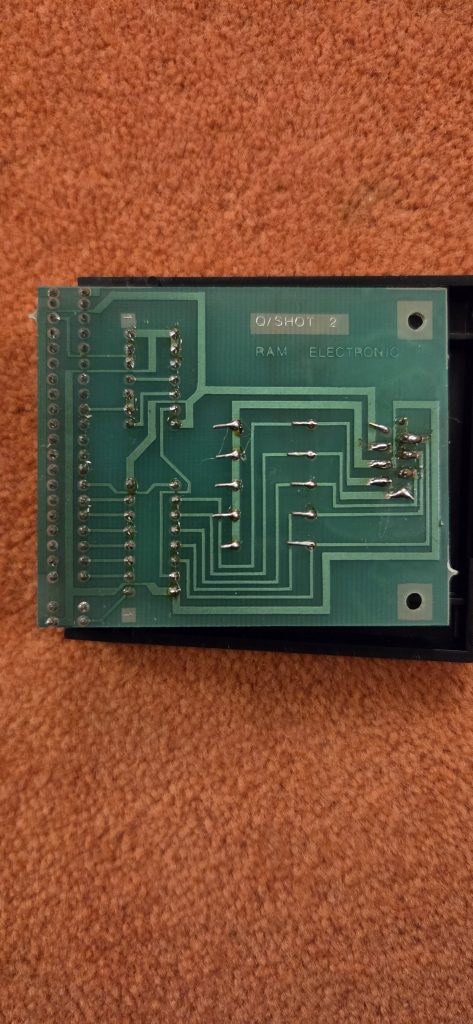
Little extra – Q/Shot 2 RAM Electronic Serial Adapter?
The bundle came to me with this supposedly Spectrum => Serial adapter, which I didn’t have a way to check properly, as I’m just a lurker at Sinclair’s code (say, I google). I simply cleaned it, and put some hot glue on top of the DB-9 connector, as it was a little loosy.
Links
[0] https://amzn.eu/d/19fdxFX
[1] https://www.ebay.it/itm/397092023501
[2] https://en.wikipedia.org/wiki/Capacitor_plague
[3] https://en.wikipedia.org/wiki/Geloso
[4] https://ebay.us/m/QHyQSh
[5] https://blog.retroleum.co.uk/electronics-articles/repairing-a-zx-spectrum/spectrum-video-mods/