NES Gamepad Clean & Repair
Recently I’ve been fixing my ol’NES – Nintendo Entertainment System PAL, the ‘toaster’. I will write a post about it, as I still have to finish the work on it.
I’ve been also looking at the NES pad, as in my last repair spree I’ve also cleaned all my game pads as well. You know, all these pads are very sturdy and work, but 30+ years in the hands of me/friends/past owners are not exactly safe – we’ve had Covid, right? 🙂
The Dirt – A Mötley Crüe adventure
Note the residue where the buttons used to stay:

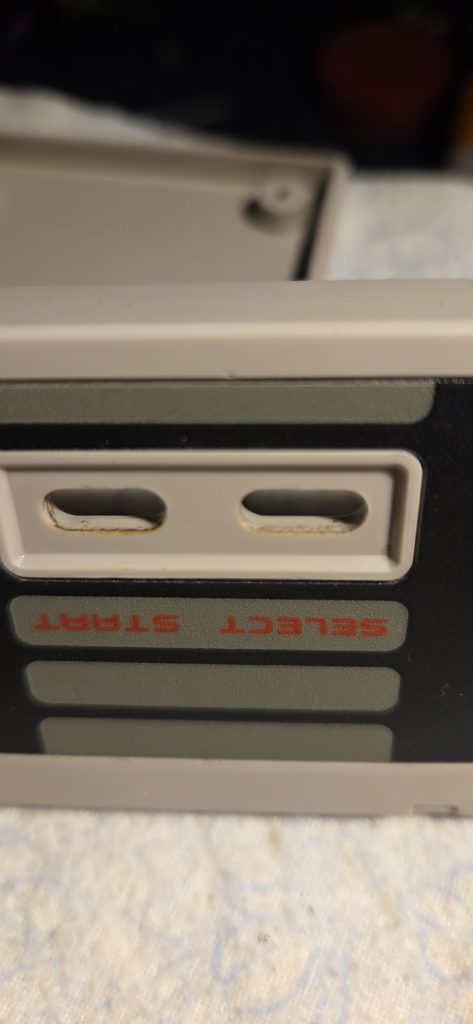
See between the Start/Select button place:
And the D-Pad – see what I mean?
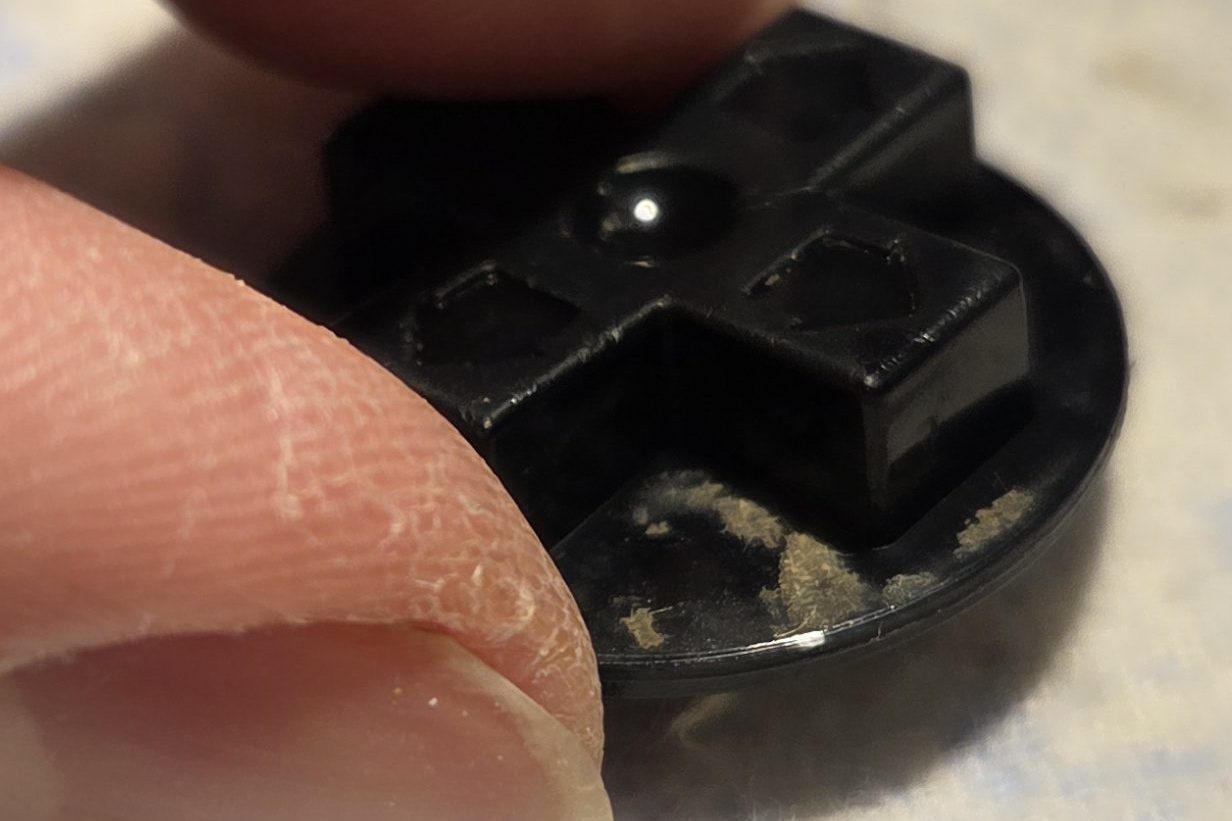
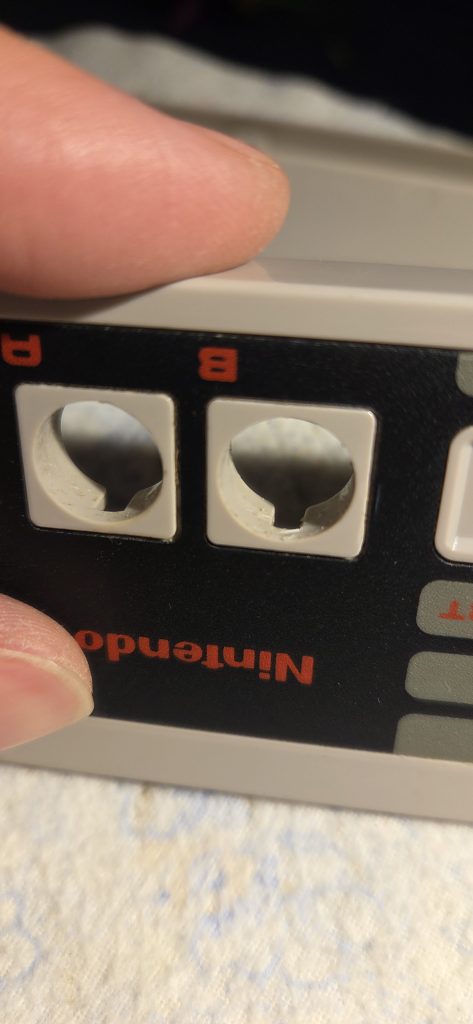
And this is why I wanted to check on the pad. Sometime the “rubber” gets ripped off overtime, and eventually white flags. See the marked spot. Also, this was previously repaired/glued – not by me, I got this pad 2nd hand.
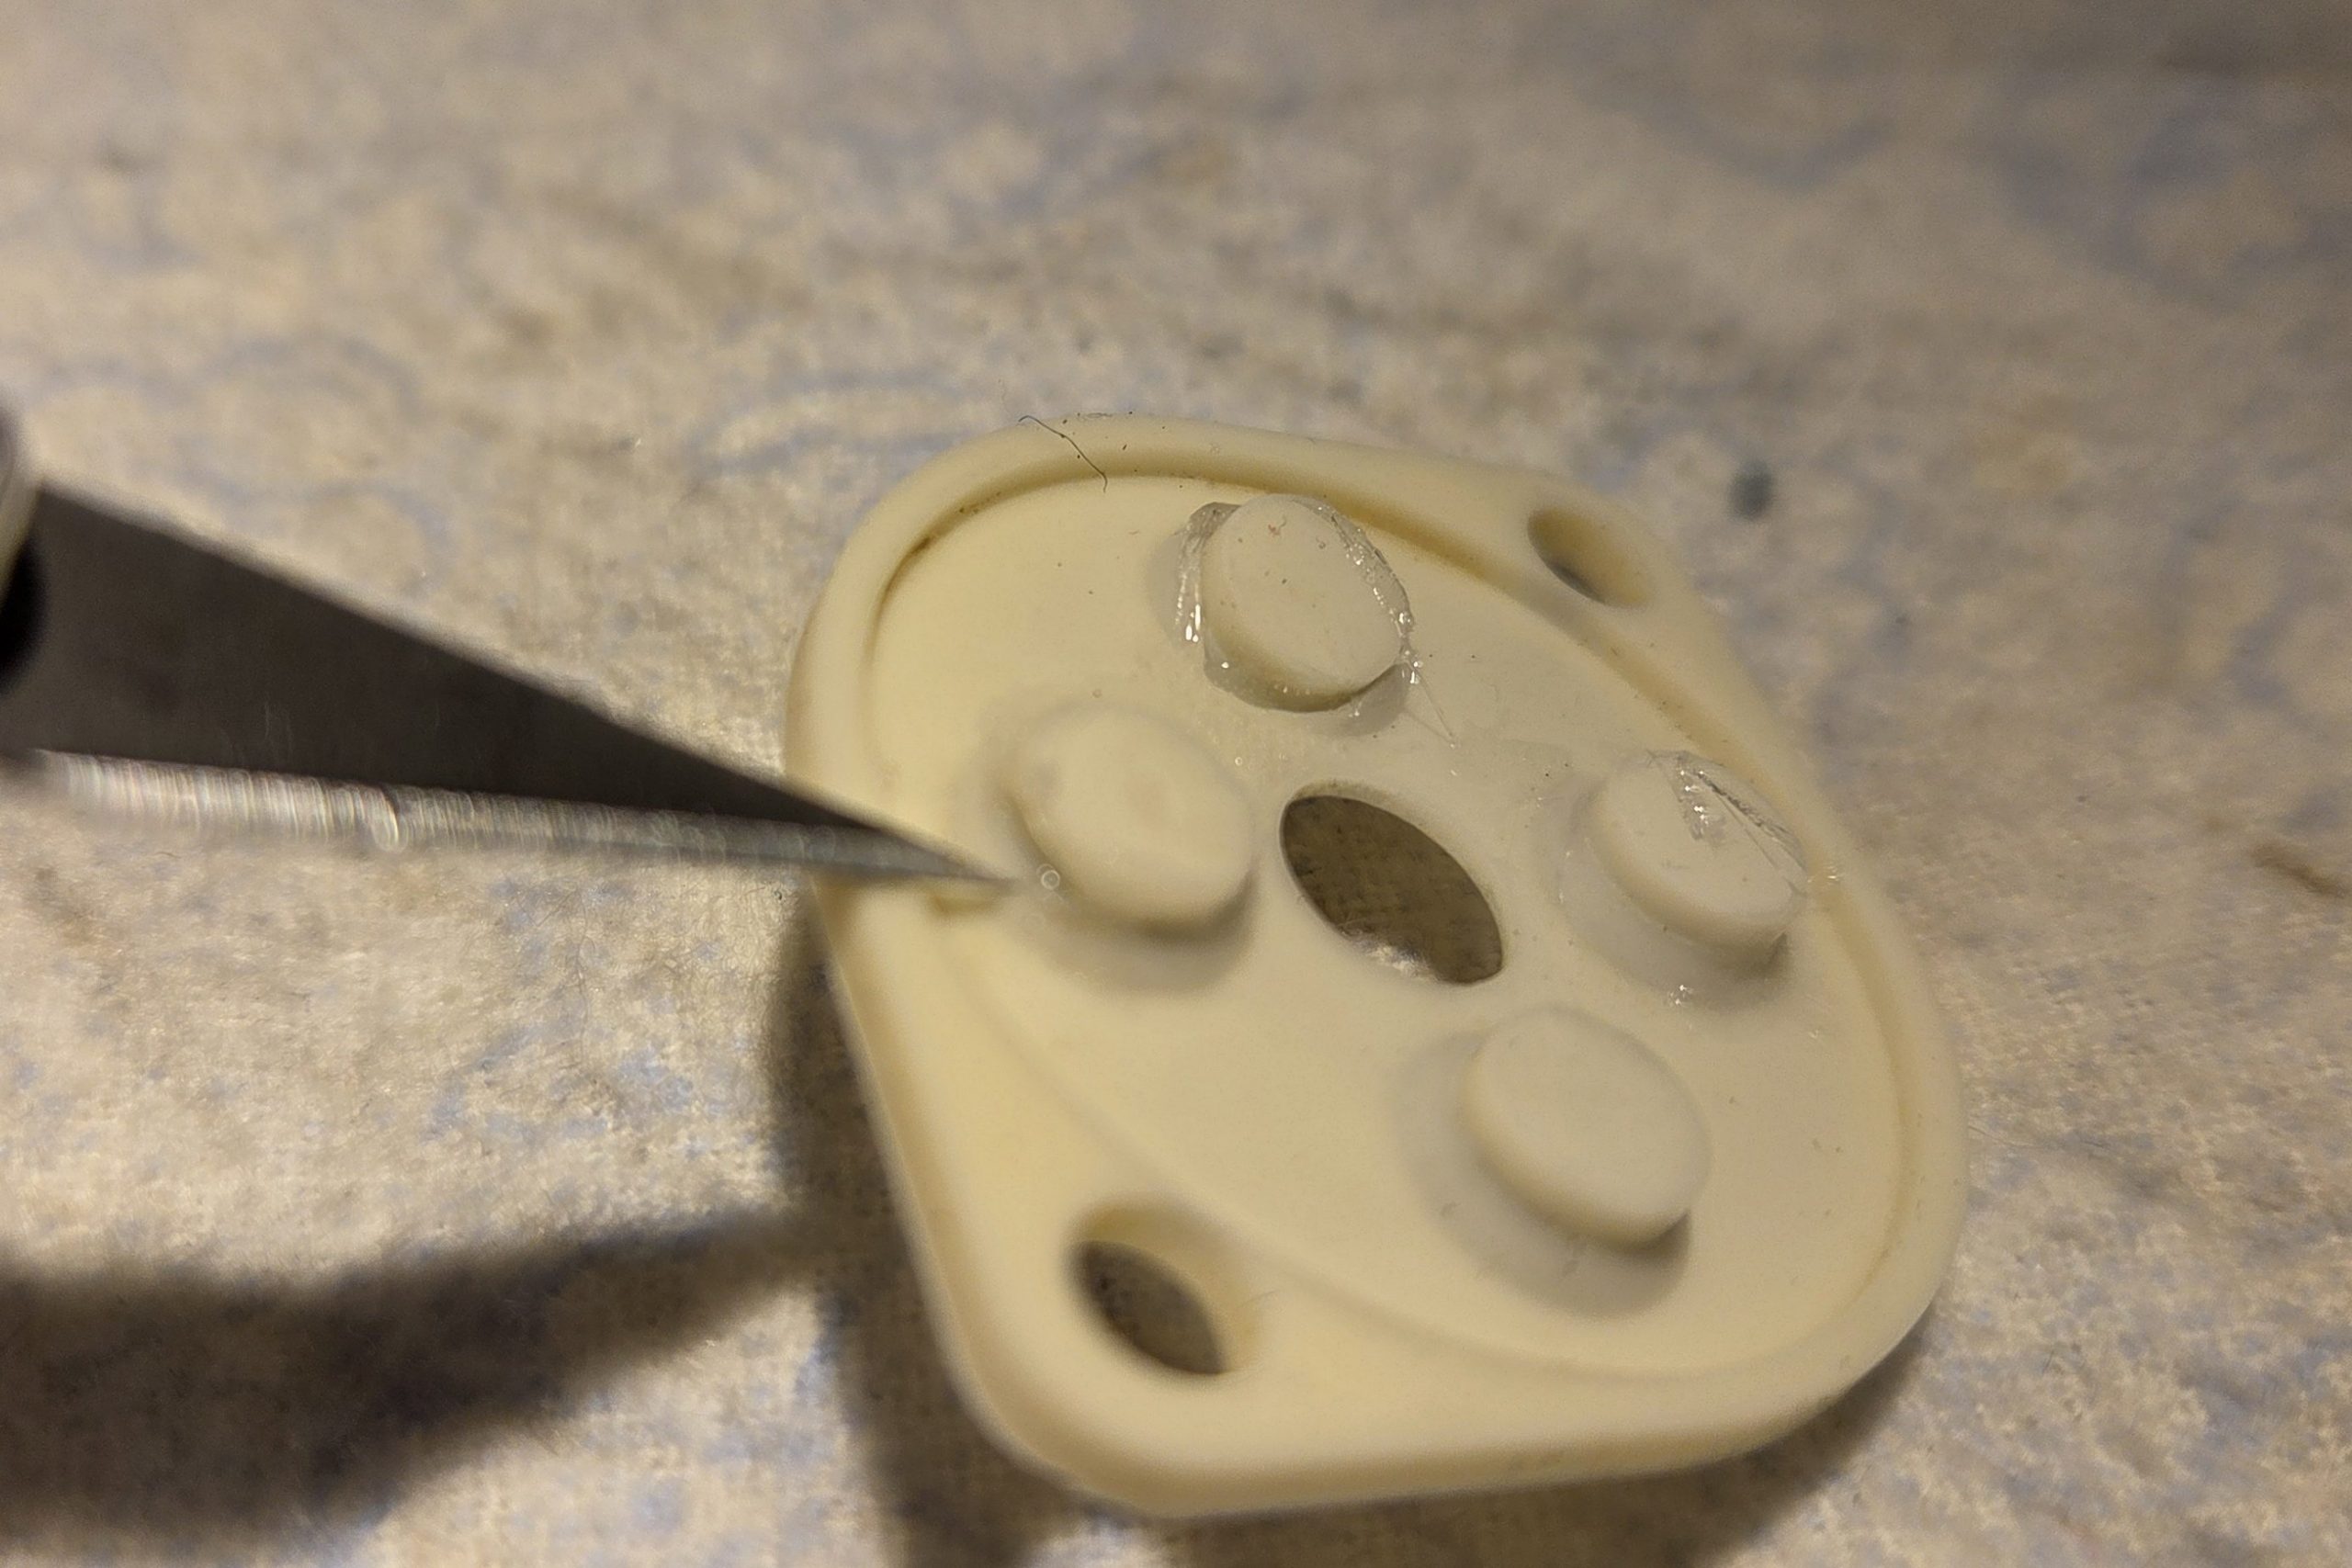
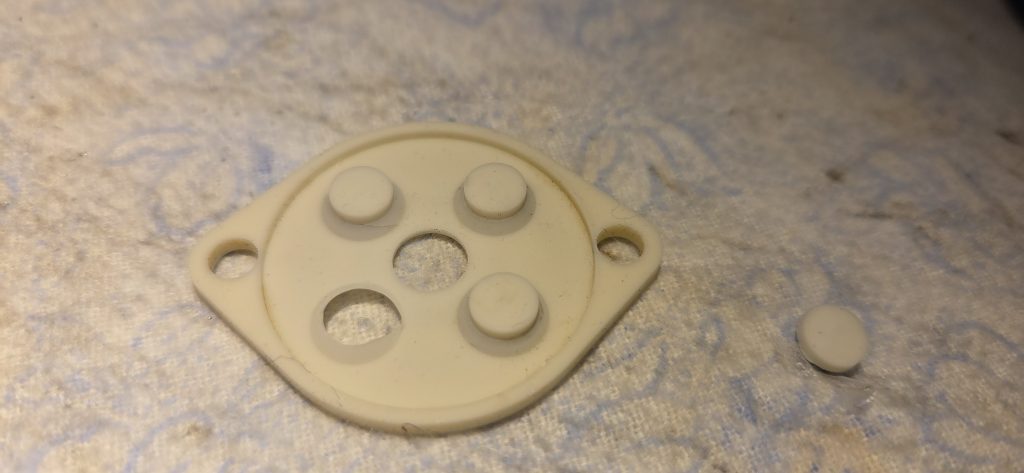
And here it goes, one of those thingy was completly ripped, and simply got out of its way:
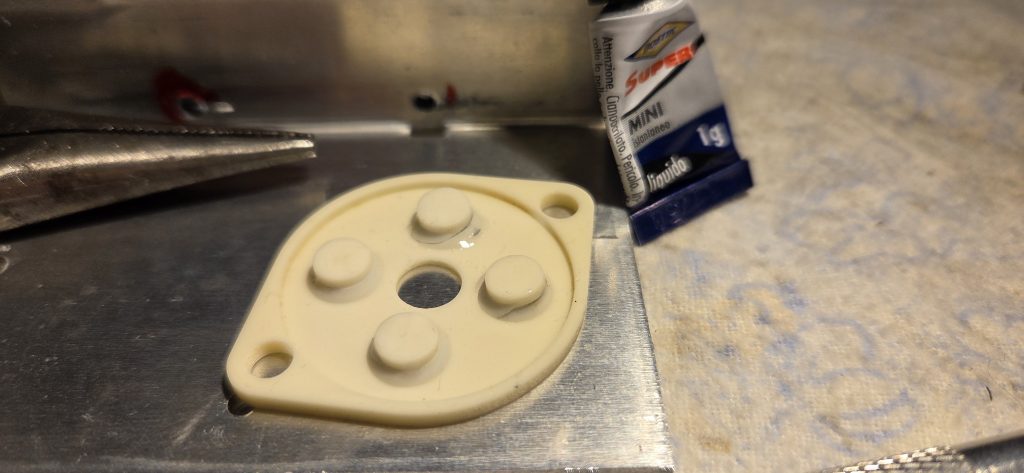
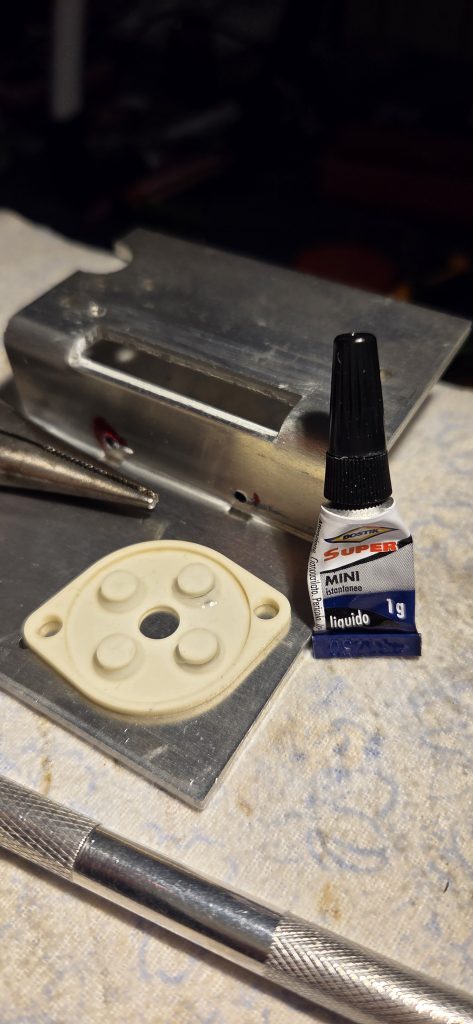
Glue to the rescue
Not much to be done, just some clean up and some acrylic glue will do. I’ve done my attempt with a more gelly glue, but it didn’t quite stick to this very soft rubber.

Some pictures of the process with the tools used to compare sizes
Clean’em up
And of course let’s clean (scrape) all the dirt away
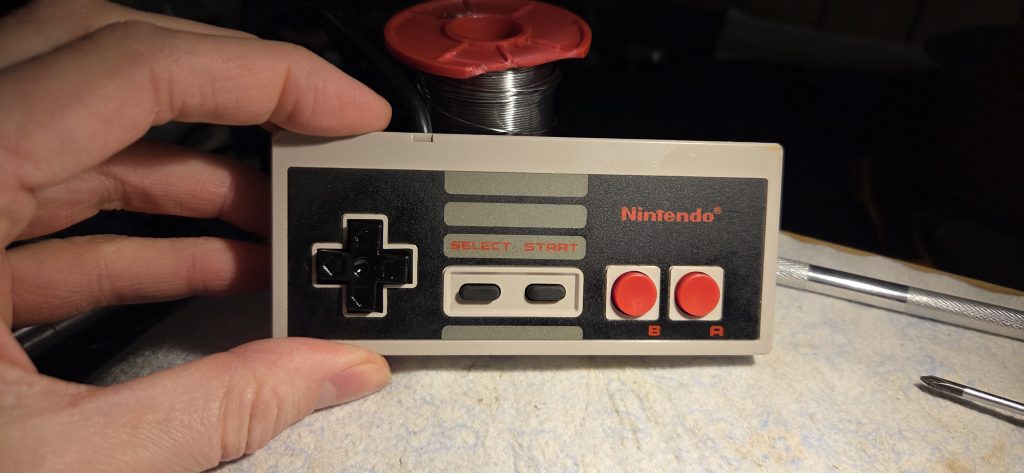
All back together
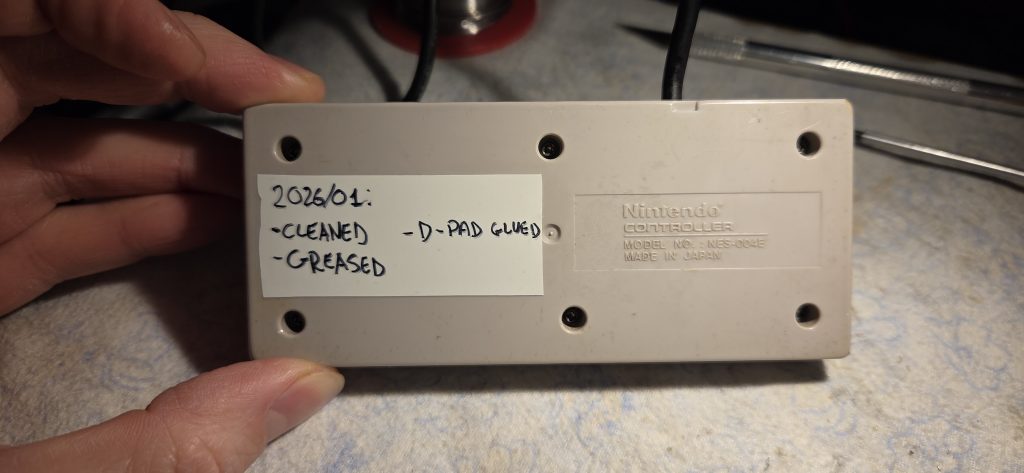
And putting it back together. I’ve also put some silicone lubrificant spray between the buttons, to let them go up and down for another 2 decades.
And a good tape with dates and what’s been done will be useful – I hear my future me saying that